Create Your Project
Let’s start by setting up a new project in Solana Playground. Open Solana Playground in your browser and follow these steps:- Click the “Create a new project” button on the left-side panel
- Enter a project name
- Select “Anchor” as your framework
- Click “Create”
lib.rs:
-
The
initializefunction takes a number (data) and stores it in a new account -
The
Initializestruct defines what accounts our function needs -
NewAccountdefines the structure of our data storage
Build Your Program
Before deploying to SOON Network, we need to build our program. In the Playground terminal, run:declare_id!() address updates - this will be your program’s address on SOON Network.
Configure SOON Network
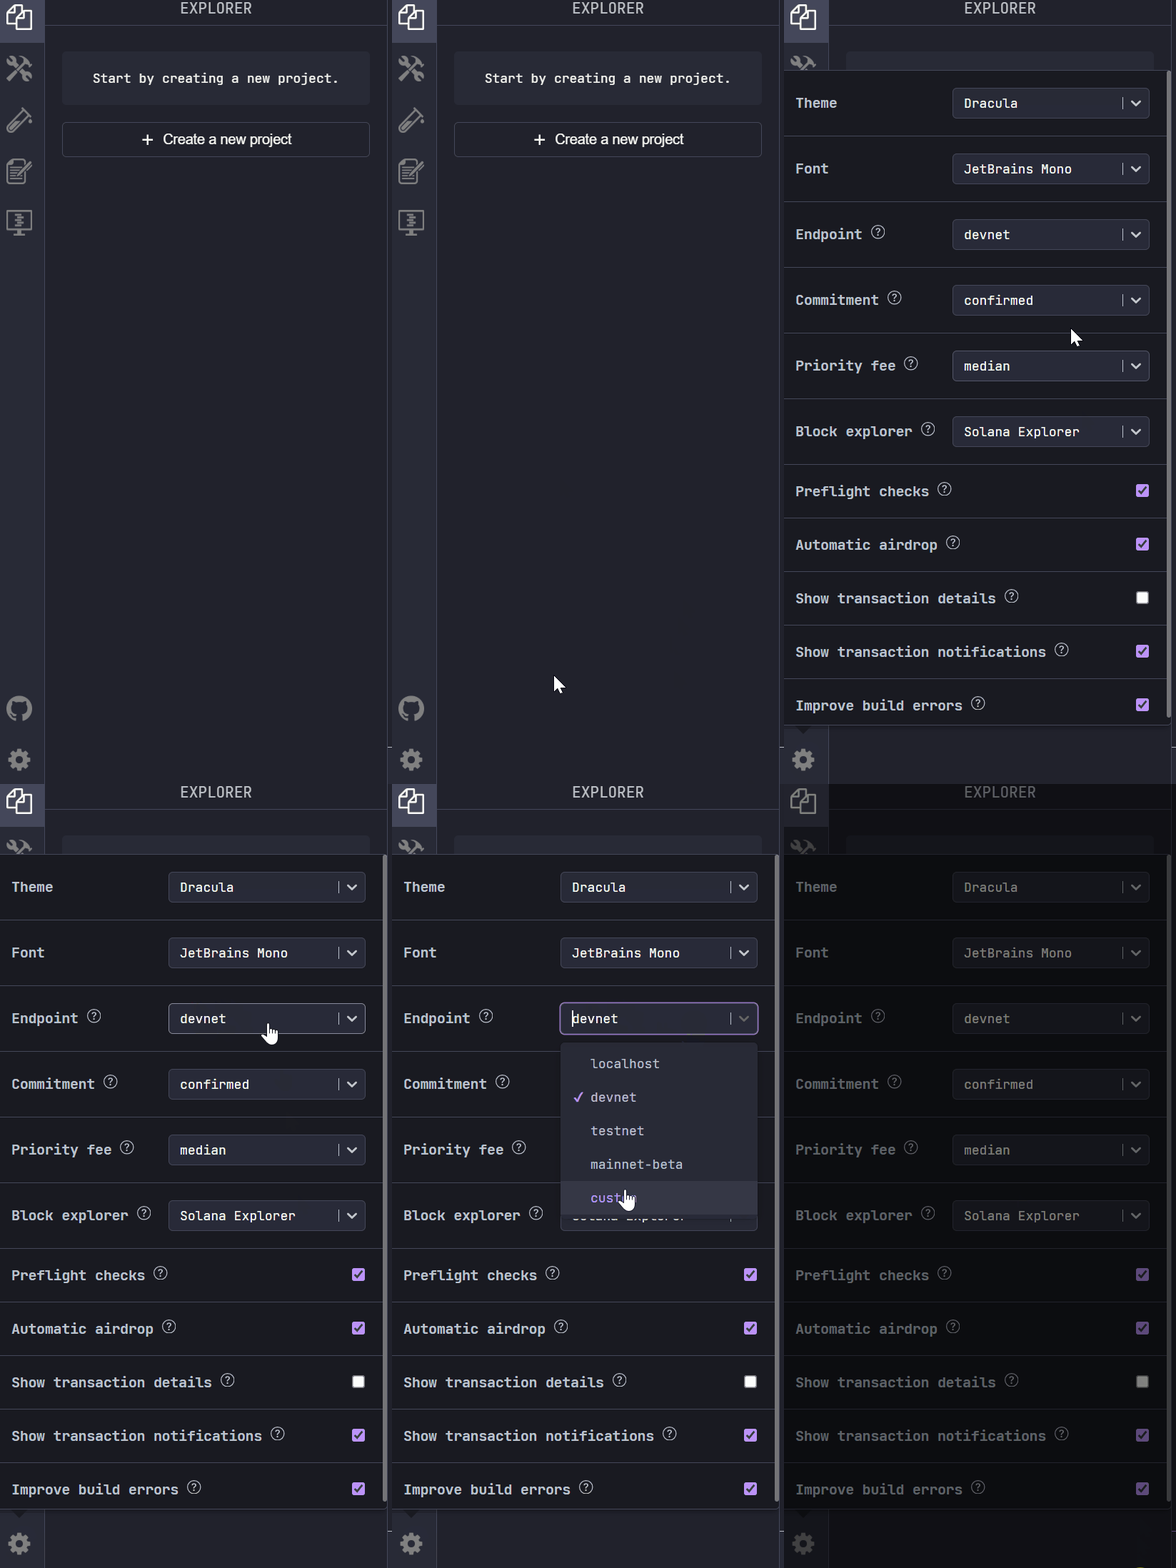
Before deploying, we need to switch to SOON’s network to Faucet Devnet:- Click the network selector dropdown (shows “devnet” by default)
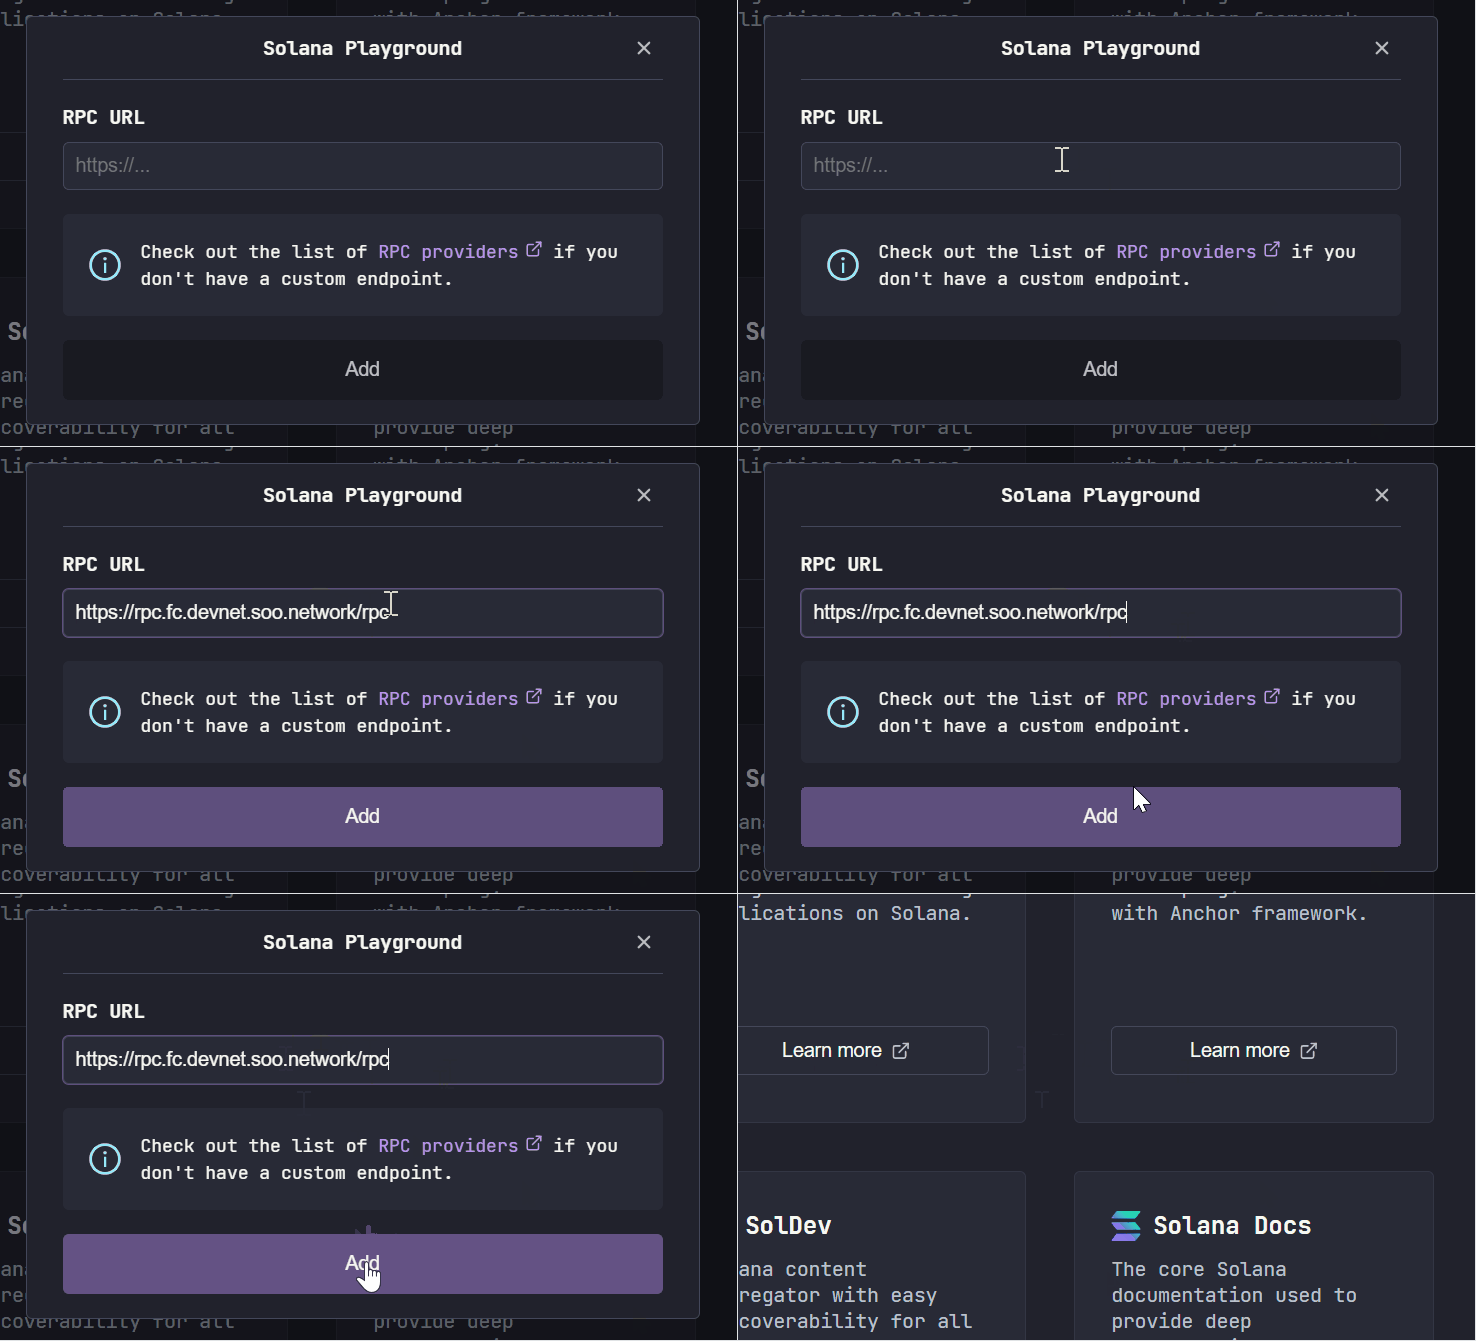
- Choose “Custom RPC”
-
Enter:
https://rpc.fc.devnet.soo.network/rpc


Get Test Tokens
Deploying a program requires some SOL to allocate space for the program. Get some test tokens by running:Deploy Your Program
Now we’re ready to deploy! Run this command in the terminal:- Faster deployment confirmation thanks to our Layer 2 architecture
- Lower deployment costs while maintaining security
- Full Solana program compatibility through our Decoupled SVM
Testing Your Program
The starter project includes a test file intests/anchor.test.ts. This demonstrates how to interact with your program:
View Transaction Details
Each transaction on SOON Network can be viewed in our explorer. Just click the transaction signature link that appears in your test output or add it manually to:Close Your Program
If you want to recover the SOL allocated to your program, you can close it using:[PROGRAM-ID] with the address shown in your declare_id!().
Next Steps
Congratulations! You’ve deployed your first program on SOON Network. This is just the beginning - your program is now running on our high-performance Layer 2, ready to power decentralized applications with:- Rapid transaction processing through Decoupled SVM
- Ethereum’s robust security guarantees
- Cost-effective operation at scale
- Creating complex programs with multiple instructions
- Integrating with other SOON Network programs
- Optimizing for Layer 2 performance
